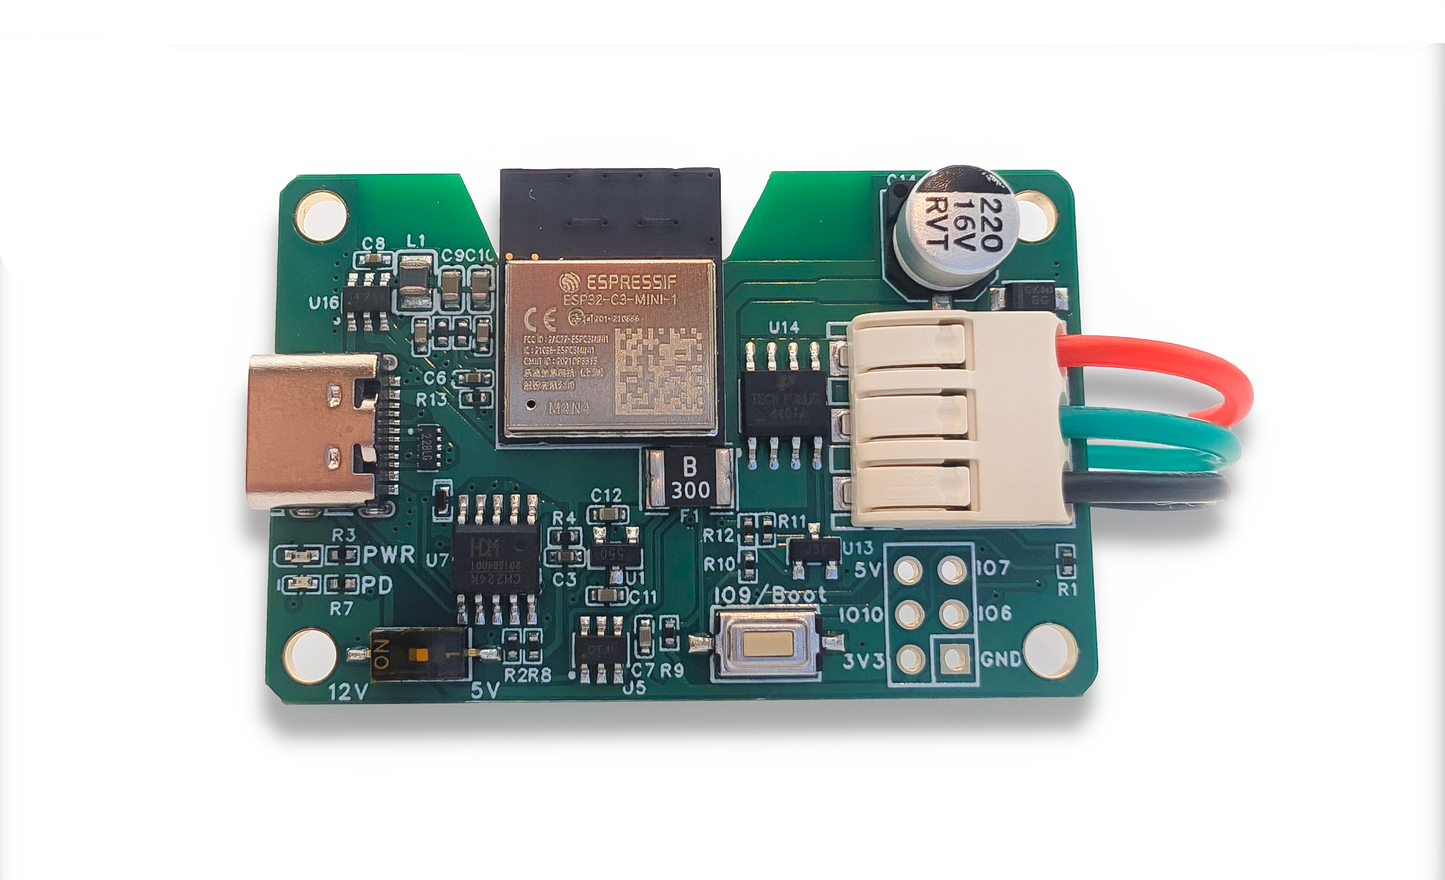
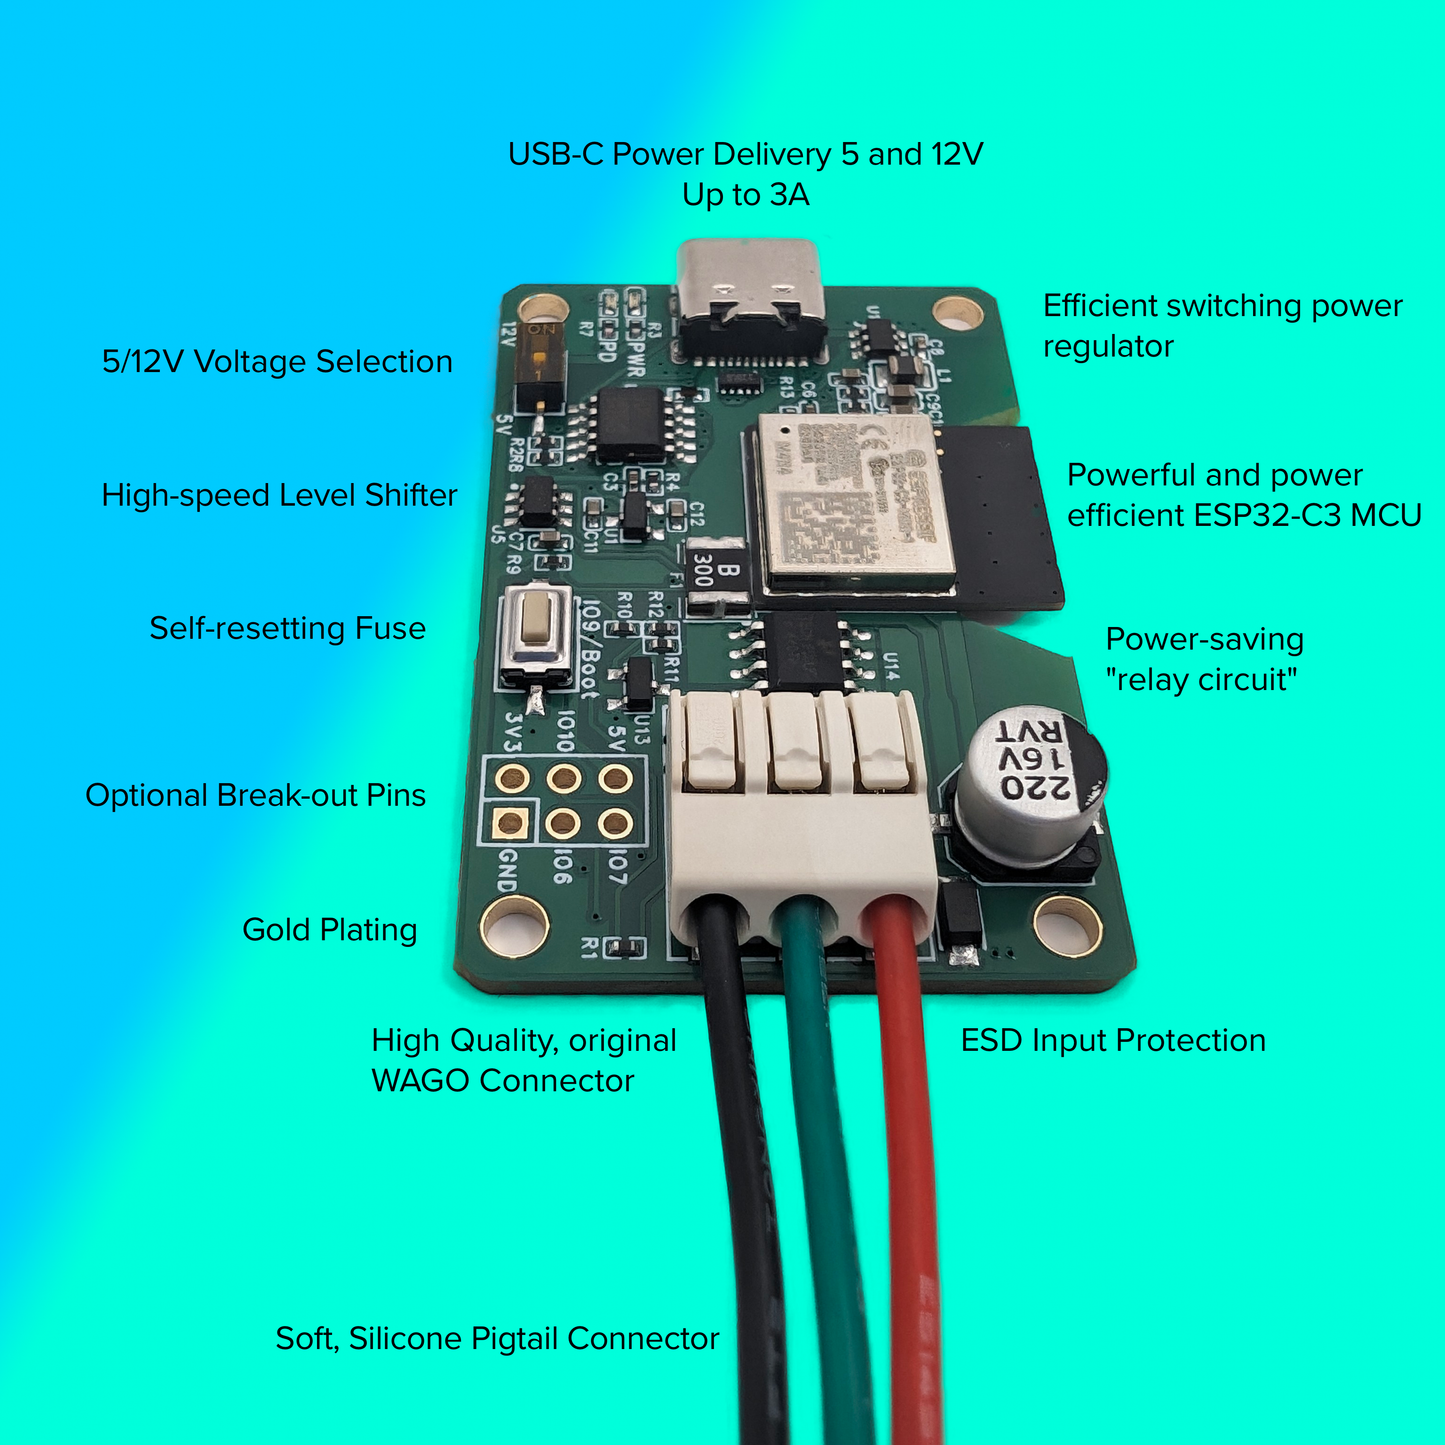
A small, but powerful LED strip controller with 12V USB-C Power Delivery support. MagWLED-1 is powered by WLED, an Open Source product (Credits).


Step 0 - Determine your USB-C PD Power Source
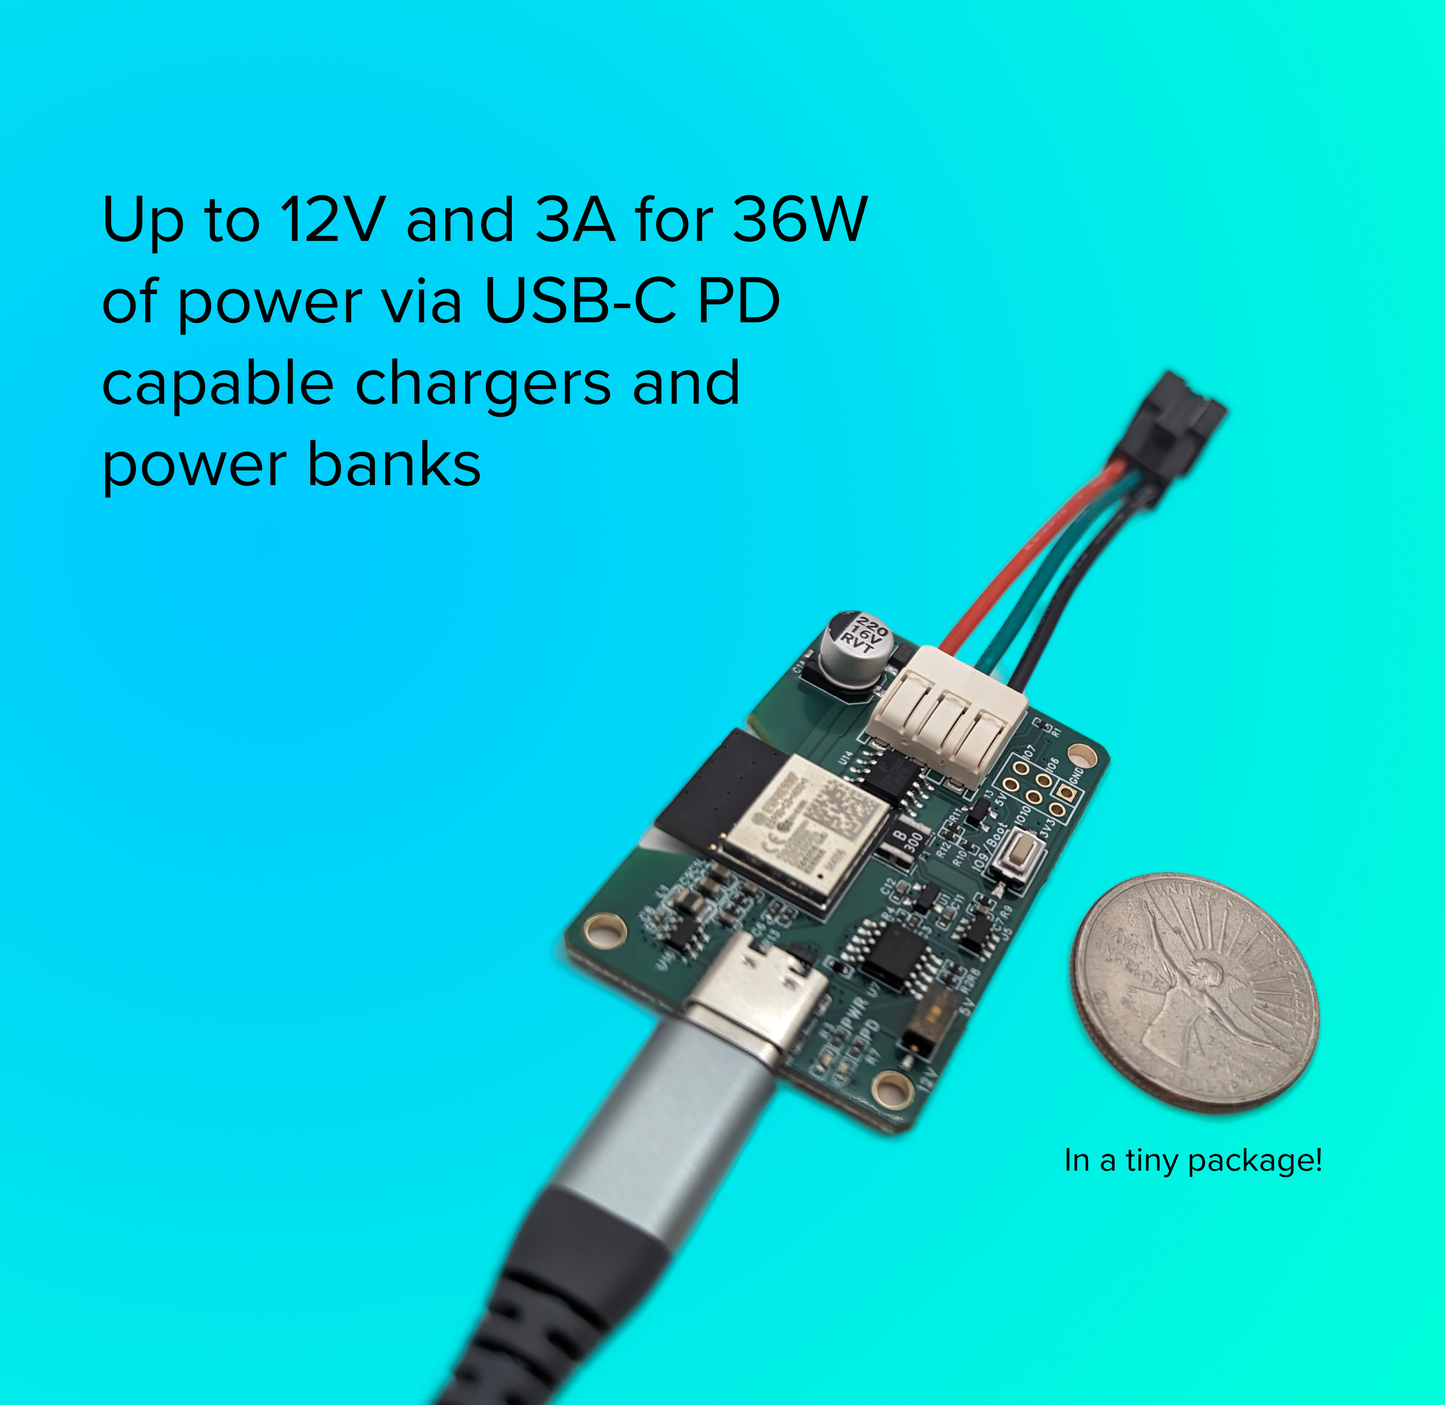
The MagWLED-1 will work with most USB Chargers, power banks or even hubs and laptops (possibly at lower current draws). The maximum power output is 15W at 5V and 36W at 12V, both at 3A current. Check the small print of your power source to see what it's rating is. MagWLED will attempt to negotiate 3A at whichever voltage is configured, but it will settle for "the next best thing".
Some things to watch out for:
- Some new USB-C power sources might support 20V, but still not support 12V
- Some USB-C power sources might support 12V power, but not at 3A
For 5V operation, almost any new USB-C power source will support 3A. For 12V operations, take an extra look at the specifications and be wary that some cheaper brands might not stand up to their specifications.
Step 1 - Select desired voltage
The voltage is set to 5V by default. If your LED requires 12V, remove the orange / transparent tape over the voltage selector switch and flip it towards the "12V" label. The photo below shows the default, 5V mode.

Step 2 - Connect USB Power and Confirm Power Delivery
Connect USB-C power and keep an eye on the two LEDs below the connector. The green LED marked "PWR" indicates that the controller is powered on and that the micro controller has good, 3.3V.
The orange / red LED marked "PD" lights up when the requested Power Delivery mode has been successfully negotiated with the power source.

If the red LED does not light up, it means that power delivery negotiation failed. Check that your cables and power supply supports the desired power output.
- If 5V mode is selected, this means that it might not be safe to draw a full 3A from the power source as this could lead to overheating. Much more likely you will see voltage drop and thus discoloring / flickering as you increase the current draw.
- If 12V is selected, this likely means that the power source does not support 12V, but instead is providing 5V or 9V power. This will likely lead to the LED strip not lighting up at all or light up very faintly.
Step 3 - Connect an LED strip
MagWLED-1 comes with a standard three-pin pigtail connector that is compatible with many common LED strips, so in most cases you can use the pre-installed connector. If the LED strip is a WS28xx or compatible, then the first 30 LEDs of your strip should light up.

Step 4 - Connect to and Configure WLED networking
MagWLED-1 comes preinstalled with the open source firmware WLED. To connect:
- Connect to the wireless access point `WLED-AP`
- Follow the prompts to sign into the network. If you are asked for a password, use wled1234
- Select the network settings button when prompted
- Configure your network settings and tap "Save and Connect"

Once MagWLED-1 is on your network, you can either connect to its IP address via your web browser or using the iOS or Android apps.
For more details, see the WLED Getting Started page and the WLED Community Tutorials.
Step 5 - Configure LEDs and Max Current
Once you have successfully connected to MagWLED-1 with your web browser or app, proceed with configuring the LED strip. A complete reference of the settings is available in the WLED documentation.
MagWLED-1 supports up to 3A of current draw at 5 and 12V. The board can take much more than this, but most USB power source can't, so the hold current of the self-resetting fuse is 3A and it will gradually heat up above 3A, and eventually trip around 4A.
The brightness limiter / max current configuration in the LED settings are estimates as different types of LEDs and strips have different current draws. Getting the perfect current limit will therefore be a bit of trial and error.
The voltage output from most USB chargers and power banks will start to drop quickly as you exceed their maximum current draw. The maximum may very well be less than what the specs say.
Setting the current limit too high might cause the lights to discolor, fade or the controller to crash. A USB tester, like the Power-Z KM003C is extremely useful if you really want to dial it in. But, in most cases, the last few milliamps aren't really noticeable, so you might get away with just setting it to 3,000mA and call it a day!

Other features
Wago terminal block
If you want / need to disconnect the pigtail, gently press the dimple on the Wago terminal block with your finger (nail) or a small, blunt object. Take care not to apply pressure outside of the dimples as this might break the connector!

MagWLED-1 Pin-Out
| GPIO 2 |
LED Data |
| GPIO 5 |
Relay (invert) |
| GPIO 9 |
Button |
Note that this is also printed on the back of the controller!

Flashing
The USB-C connector on the MagWLED-1 can be used for flashing new version of WLED or other firmware. As it comes out of the box, it can be flashed by simply connecting the device to your computer and e.g flash via https://install.wled.me/. In some cases (like a bad firmware that introduces a boot loop), you might be required to hold the BOOT button down while plugging in the device to force it into bootloader / flashing mode.
Note: The USB-C PD negotiation is known to cause interference with the USB connection when connecting it to a non-PD capable USB port. Modern laptops, such as MacBooks and recent Dells work perfectly. Many USB hubs will, however, continuously connect and disconnect the device. So, if you have issues flashing, plug the MagWLED-1 directly into your computer.
Need help?
Contact us! support@magwled.com


